except for the drawer fronts, and the bracing, it's all oak veneer over particle board. Do your homework before dropping gobs of money on furniture, people.)
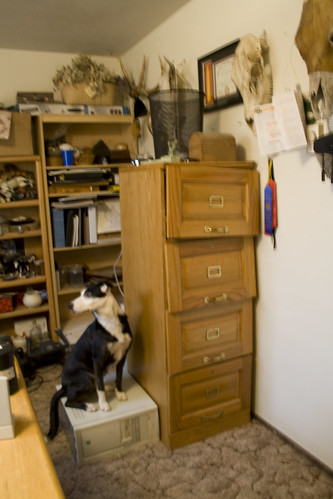
Step two: try to use this filing cabinet for it's intended use for about a year, get really frustrated that the drawers don't roll on their tracks anymore, take it mostly apart and discover it's beyond repair.
Step three: Take it apart the rest of the way. Remove all hardware, kick out the back (essentially veneered cardboard. TIP: wear shoes for this). Turn it upside down. Peel off the plastic things they stick on the bottom to keep from scuffing the floor. Remove the drawers to the garage where they will eventually be taken apart for scrap wood.

It was cheaply made, but amazingly still fairly sturdy. I put in a few extra nails here and there, but otherwise left it.

Step four: Obtain materials. I had quite a few useful things lying around in the garage, but I admit, I went straight to Home Depot for everything else. Did not pass go, did not bargain shop at all. In fact, I splurged on a few things like coated wire, pretty brass hinges, and decorative molding. This could have been a cheaper project had I not been lazy.
8 Corner braces: $11.16
4 hinges + screws: $5.88
4 wheels: $13.92
3 rolls of coated hardware cloth: $29.94
15' of molding: $13.50
24"x24" piece of plywood: $5.47
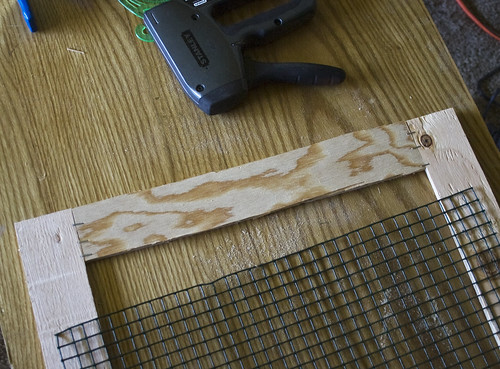
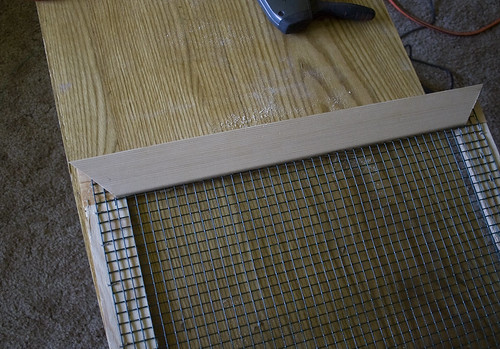
Building the doors took the most time. I built a frame from pieces of plywood ("built" = putting a few staples on each corner) and then stapled wire to it and glued the decorative molding on top. I then put in a few finishing nails on the front and corner brackets on the back.
Screwed in some chunks of wood to the cabinet body to act as shelf brackets. I decided to have three shelves that matched up to the already existing dividers where the drawers used to be. It worked out perfectly. (Funny story: these were scraps of some kind of hardwood came from inside a couch I took apart last year - yet another over-priced piece of furniture that was cheaply made.)

Stapled more wire on the entire backside and top. (I
Attached the doors and then the latches (two for each door for added security). And put the wheels on the bottom (I am so glad I added these wheels. being able to easily move this thing around has already been wonderful - I move it into the office so I can decorate it or make hammocks and toys while me and Tom watch movies and I have a feeling in the summer I'll be wheeling it in and out of the bedroom a lot so they can have AC during the hot months).
Then it was just a matter of cutting the shelves and customizing them. I had a bunch of laminated particle board from an old desk and it wasn't too much of a mess to cut it with the saw. I sealed the rough edges with duct tape. I love that the shelves are infinitely customizable. For now, I just cut them a little short so the rats can use the back of the cage as a ladder to travel between levels and drilled a few holes to hang hammocks from, but in the future I can foresee more elaborate ladders and holes and tubs and I envision incorporating tree branches to use as ladders... all kinds of fun.
Ta dah!
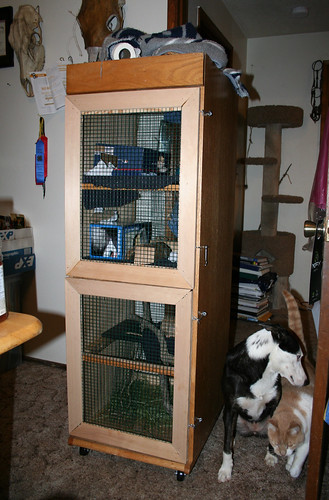
With the wheels it's almost 5 feet high with with 11.5 square feet of room inside for the ratties to run around. The internet tells me a comparably-sized new cage would be well over $100, so I feel that I still came out on top, even with my lame non-bargain shopping. I also
feel it's reasonably attractive for a cage (and much more attractive than my last home-made cage). I'm quite happy with it.